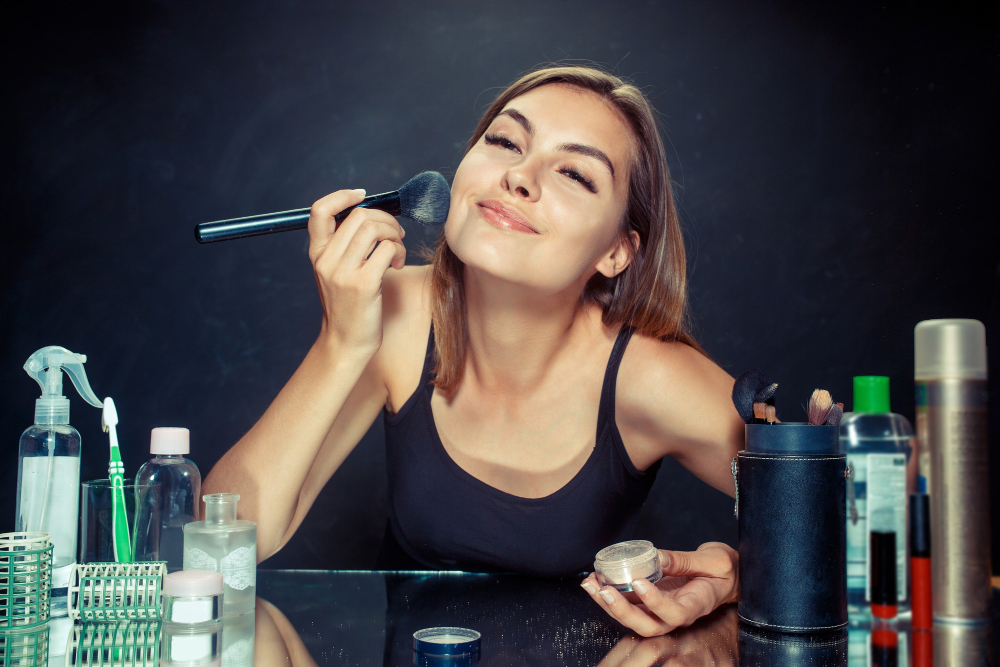
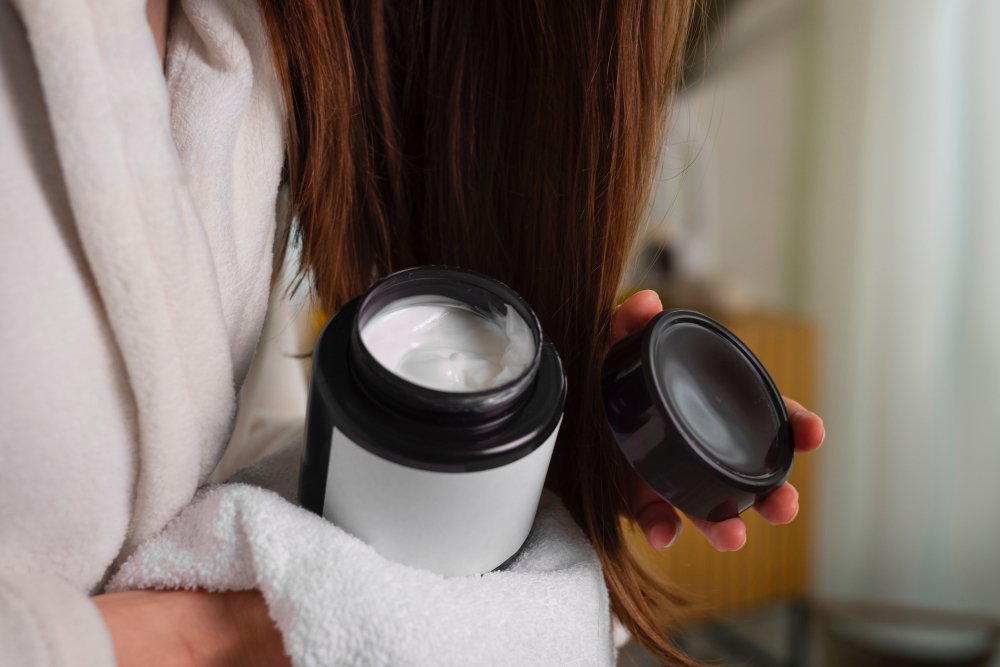
In the world of skincare, face serums have become an essential step in achieving a healthy and radiant complexion. However, many store-bought serums contain synthetic ingredients, preservatives, and fragrances that may not be suitable for all skin types. Creating your own face serum allows you to control the ingredients, ensuring that your skin receives the best natural nourishment. This guide will walk you through the process of crafting a personalized face serum to meet your unique skincare needs.
Choosing the Right Ingredients
Before you start making your serum, it’s important to select ingredients that suit your skin type and concerns. The right combination of oils, active ingredients, and natural preservatives will not only enhance your skincare routine but also ensure the effectiveness and longevity of your homemade serum. Let’s break down the essential components:
- Base Oils:
Base oils provide hydration and nourishment to the skin. Selecting the right base oil is crucial as it forms the foundation of your serum. Here are some excellent choices:
- Jojoba oil – Ideal for all skin types, as it closely mimics the skin’s natural sebum, making it an excellent choice for maintaining balanced hydration.
- Argan oil – Perfect for dry and aging skin, rich in vitamin E and essential fatty acids, helping to restore elasticity and smooth out fine lines.
- Rosehip oil – Best for acne-prone and sensitive skin, packed with antioxidants and essential fatty acids, known for its ability to fade scars and improve skin texture.
- Grapeseed oil – A lightweight option great for oily skin, as it helps regulate sebum production without clogging pores.
- Almond oil – Soothing and nourishing, beneficial for dry and irritated skin.
- Active Ingredients:
Active ingredients target specific skin concerns and enhance the serum’s overall effectiveness. Choosing the right combination will determine the benefits your serum delivers:
- Vitamin C – A powerful antioxidant that brightens skin, boosts collagen production, and evens out skin tone, reducing dark spots over time.
- Hyaluronic acid – A highly effective hydrating agent that attracts moisture to the skin, helping to plump and smooth fine lines.
- Niacinamide (Vitamin B3) – Helps to regulate oil production, reduce redness, and improve overall skin texture, making it a great choice for acne-prone and sensitive skin.
- Retinol (Vitamin A) – A potent anti-aging ingredient that accelerates cell turnover, diminishing wrinkles and fine lines while improving skin elasticity.
- Coenzyme Q10 – Provides an energy boost to skin cells, improving firmness and reducing the appearance of wrinkles.
- Essential Oils:
Essential oils add therapeutic benefits and a pleasant aroma to your serum, but they should always be used in diluted amounts to prevent irritation. Some excellent choices include:
- Lavender oil – Calms irritated skin, reduces redness, and has a relaxing scent that promotes stress relief.
- Tea tree oil – Well-known for its antibacterial and anti-inflammatory properties, making it an excellent option for acne-prone skin.
- Chamomile oil – Soothes sensitive skin, reduces inflammation, and helps to alleviate irritation.
- Frankincense oil – Known for its anti-aging properties, improving skin elasticity and reducing the appearance of fine lines and scars.
- Geranium oil – Helps regulate oil production and improve overall skin tone, promoting a more balanced complexion.
- Natural Preservatives:
To extend the shelf life of your homemade serum and prevent bacterial growth, adding natural preservatives is essential:
- Vitamin E oil – Prevents oxidation of oils, helping to keep your serum fresh for a longer period.
- Rosemary extract – A natural antioxidant that helps preserve the formula while also providing additional anti-inflammatory benefits.
- Leucidal Liquid (Radish Root Ferment) – A natural, plant-based preservative that prevents microbial contamination.
- Grapefruit seed extract – A gentle preservative that helps prolong the freshness of your DIY serum.
- Honey or Aloe Vera – While not traditional preservatives, these natural ingredients have mild antibacterial properties that can help maintain serum stability.
By carefully selecting high-quality ingredients tailored to your skin’s unique needs, you can create a serum that delivers targeted benefits while being free of unnecessary chemicals and additives. Understanding the role of each ingredient allows you to customize your serum to achieve the perfect balance of hydration, nourishment, and protection for healthy, glowing skin.
Step-by-Step Guide to Making Your Own Serum
Step 1: Gather Your Ingredients and Tools
You will need:
- Your chosen base oil
- Active ingredients and essential oils
- A small glass dropper bottle (preferably dark-colored to protect the serum from light)
- A measuring spoon or dropper
- A clean mixing bowl and a stirring utensil
Step 2: Mix the Ingredients
- Start by pouring 2 tablespoons of your chosen base oil into the mixing bowl.
- Add 3-5 drops of your selected essential oil(s).
- If using, incorporate ½ teaspoon of vitamin C powder or a few drops of hyaluronic acid.
- Stir well until all ingredients are fully blended.
Step 3: Transfer to a Bottle
Using a funnel or dropper, pour the mixture into your glass dropper bottle. Close the bottle tightly to prevent contamination.
Step 4: Label and Store
Label your serum with the date of creation and the list of ingredients used. Store it in a cool, dark place to maintain freshness.
Step 5: Patch Test Before Use
Before applying the serum to your face, do a patch test on your wrist or behind your ear to ensure you don’t have any allergic reactions.
How to Use Your DIY Face Serum for Maximum Benefits
- Apply the serum on clean, slightly damp skin after cleansing.
- Use 2-3 drops and gently massage it into your face and neck.
- Allow it to absorb for a minute before applying moisturizer.
- Use the serum once or twice daily, depending on your skin’s needs.
Storage, Shelf Life, and Safety Tips
- Store your serum in a dark glass bottle to protect it from light.
- Keep it in a cool, dry place, away from direct sunlight.
- The shelf life of a natural serum is typically 1-3 months, depending on the ingredients used.
- If you notice any change in smell, color, or texture, discard the serum and make a fresh batch.
Conclusion
Making your own face serum is an easy and rewarding way to customize your skincare routine. By selecting the right ingredients, you can create a formula tailored to your skin’s needs, free from harmful additives. With consistent use, your homemade serum will help you achieve a radiant, healthy glow while giving you full control over what you apply to your skin. Give it a try and enjoy the benefits of natural skincare!


